Image Tool
Introduction
This chapter introduces how to use Image Tool to generate and download images. The image tool - uartfwburn can be found in tools folder and it has the following functions:
Download image to an AmebaPro2 device through UART.
Download Environment Setup
Hardware Setup
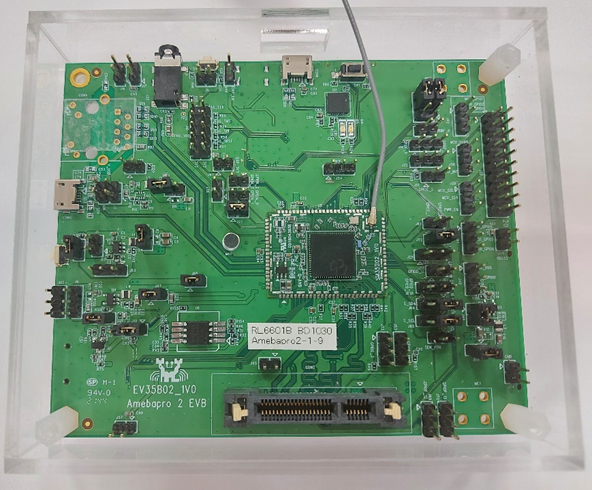
To download image, the device must to be booted as download mode. Users need to first set up the UART with PC by connecting J21 with jumpers and CON8 with PC. Then, connect J27 with a jumper and press reset button to enter download mode.

Software Setup
PC environment requirements: Windows 7 above with FT232 driver.
uartfwburn tool
Image Download
User can download the image to demo board by following steps:
Boot AmebaPro2 into download mode
Note
You can check whether your board is in download mode by UART message:
== Rtl8735b IoT Platform ==
Chip VID: 0, Ver: 0
ROM Version: v3.0
Test Mode: boot_cfg1=0x0

[test mode PG]
test_mode_img_download
Download Image over UART1[tx=4,rx=3] baud=115200
Caution
Remember to disconnect log UART console before downloading image
Execute uartfwburn tool through command mode
Command line image tool for NOR flash
Command line image tool supports Windows, Linux and MacOS platforms:
Windows: uartfwburn.exe
Linux: uartfwburn.linux
MacOS: uartfwburn.darwin
Note
boot_recover.bin & flash_loader_nor.bin & flash_control_info.bin needs to be placed in the same folder as uartfwburn tool
Normal PG mode
Write whole image to NOR flash, run command:
uartfwburn -p <COM_PORT> -f flash_ntz.bin -b 3000000 -U
Note
MacOS: <COM_PORT> use /dev/cu.xxxxx
If success, command will print: nor download success
Partial image PG mode
To set the offset and write part of the image to NOR flash, run the command:
uartfwburn -p <COM_PORT> -f XXX.bin -b 3000000 –s 0x100000 -U
-s [offset]: image download offset(hex, eg, 0x100000)
Note
Offset address needs to be 64K byte aligned.
Command line image tool for NAND flash
Command line image tool supports Windows, Linux and MacOS platforms:
Windows: uartfwburn.exe
Linux: uartfwburn.linux
MacOS: uartfwburn.darwin
Note
boot_recover.bin & flash_control_info.bin needs to be placed in the same folder as uartfwburn tool
Normal PG mode
Write whole image to NAND flash, run command:
uartfwburn -p <COM_PORT> -f flash_ntz.bin -b 3000000 -n pro2
Note
MacOS: <COM_PORT> use /dev/cu.xxxxx
If success, command will print: nand download success
Partial image PG mode
Write partial image to NAND flash, run command:
uartfwburn -p <COM_PORT> -f flash_ntz.bin -b 3000000 -n pro2 -t 0x81cf
-t [type_id] : pro2 nand flash partial image download, refer to the table below.
Short name |
Size (Bytes) |
Type ID |
|---|---|---|
PT_KEY_CER1 |
2 |
0xe9c2 |
PT_BL_BRI |
2 |
0xd1c5 |
PT_FW1 |
2 |
0xc1c7 |
PT_FW2 |
2 |
0xb9c8 |
PT_ISP_IQ |
2 |
0x89c1 |
PT_NN_MDL |
2 |
0x81cf |
Note
If success, command will print: nand download success
FTL user data PG mode
Write FTL user data to NAND flash, run command:
uartfwburn -p <COM_PORT> -f user.bin -b 3000000 -n pro2 -w 800 950
-w [block_s] [block_bs] : pro2 nand FTL write, block_s is block start, block_bs is block backup start.
Note
If success, command will print: nand download success